Some sustainable practices are easily incorporated into your life and will bear fruit right away. Pun intended! It’s cold and snowy here in NYC, but I’m already thinking about the inevitable arrival of spring…and for me that means gardening.
Sunset Green Home garden in midsummer bloom.
Raised bed gardening is an easy, space efficient, and healthful way to go green. By growing your food yourself, you'll know that you aren't ingesting any harmful pesticides and that no fossil fuels were burned to get the food to your doorstep. And growing your own produce also contributes to biodiversity; you can pick from the many heirloom varieties that cannot be grown by commercial growers whose crops are often limited to ones that have been engineered to hold up to handling and transportation. If that’s not enough to convince you, just wait until you taste a fresh asparagus spear straight out of the ground – it’s better than the best you’ll find in your local grocery store!
Now that you’re convinced, how can you make your garden a reality?
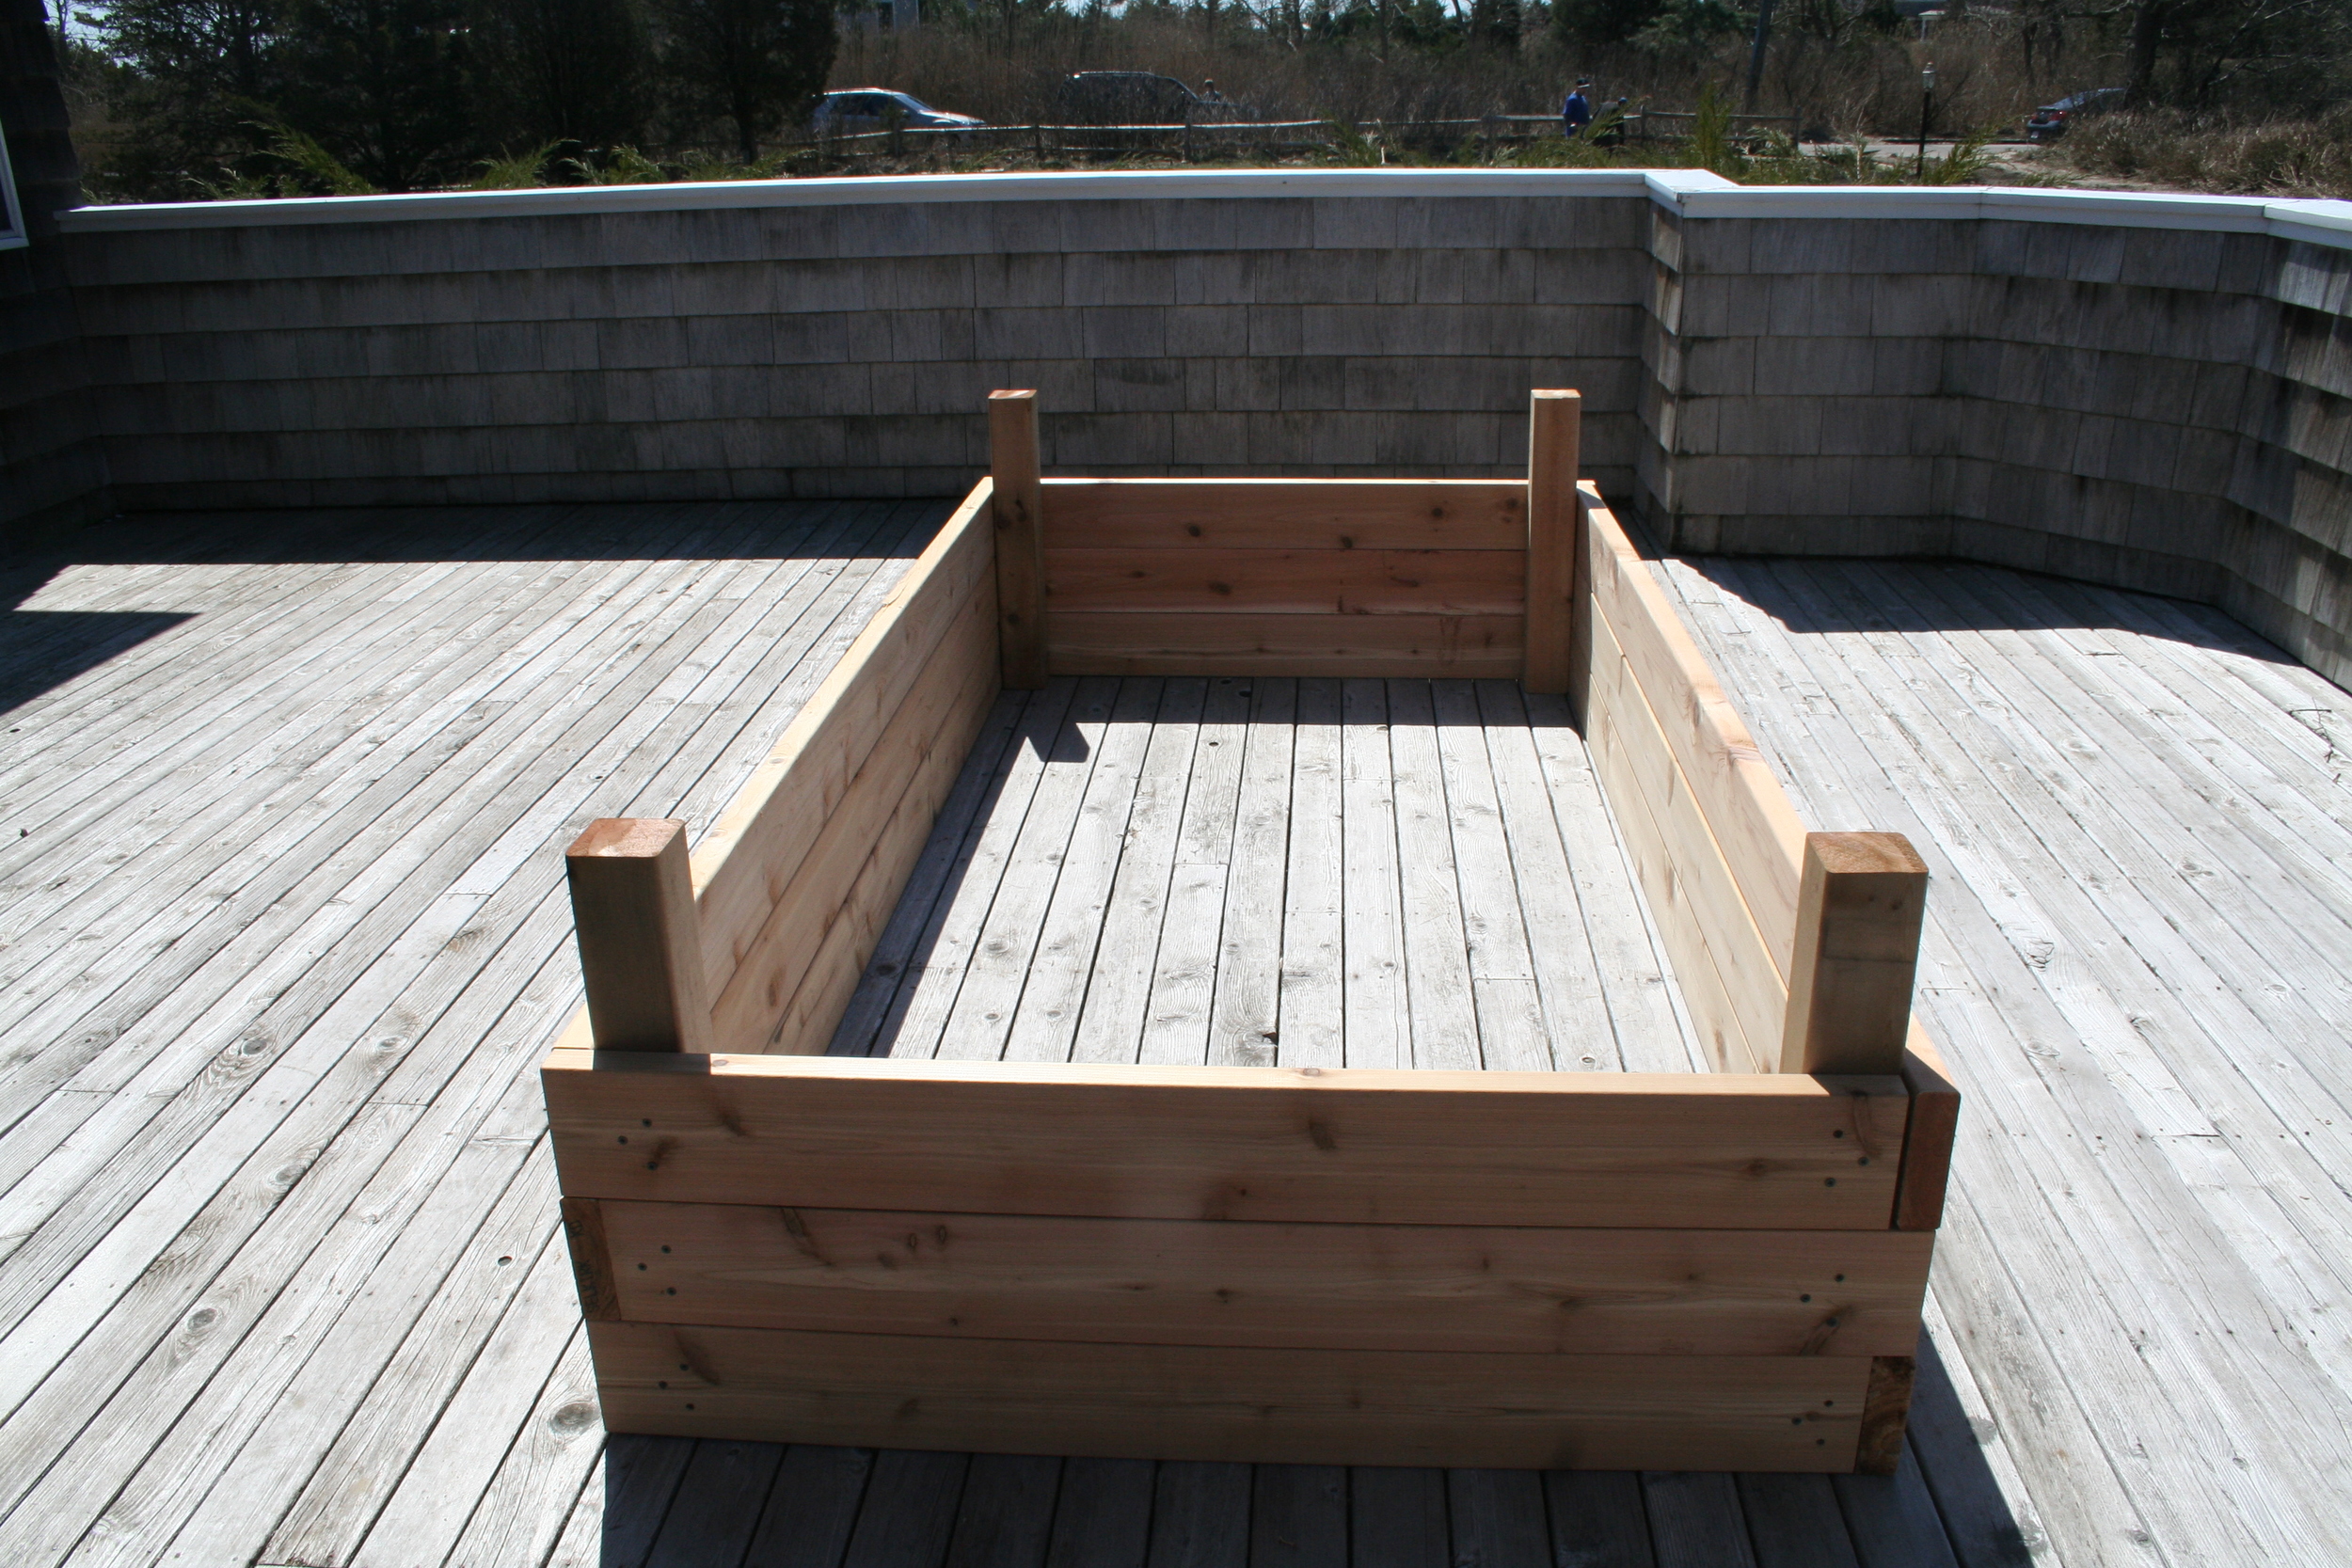
To build our raised garden beds, we used untreated cedar for its natural pest-resistant properties (redwood would have been fine, too). Consider using wood that has been certified by the Forest Stewardship Council (FSC), which has been sustainably grown and harvested. There’s been a lot of debate about using untreated vs. pressure treated wood for garden beds. Pressure treated wood will last longer than untreated wood, but doesn’t meet organic gardening standards. However, the National Gardening Association says that new ACQ pressure treated lumber is safe to use for garden beds.
Sunset.com has a great tutorial on building raised garden beds. We used their plans with a couple of modifications to build our first 18” high raised beds (most notably, Sunset's plans are for 12" high beds; we added a row of 2 x 6 boards to increase the height). They’re beautiful and have withstood the test of time. Working together with my father and my sons, we were able to build and install three 4 x 8 foot beds in one day (it helped that the lumber yard pre-cut the boards to the lengths we needed).
For clients and friends (and for my own garden expansion), I have relied on raised bed corners and connectors from Gardeners.com to assemble raised beds in a jiffy.
Regardless of which design you choose for the boxes, make sure you incorporate these elements into your plan:
1. Keep your beds to a maximum of four feet wide. Three to four feet is ideal. It’s hard to reach the produce in the middle of a bed that is more than four feet wide without stepping on or leaning into the soil and causing it to become compacted.
2. Lay down ¼” metal mesh Hardware Cloth in the bottom of your planting boxes to prevent tunneling pests (moles come to mind!) from reaching your produce
3. Staple Landscape Fabric to the inside faces (but not the bottom!) of your planters to keep your soil from leaking through the cracks between your boards when you water, and to protect the wood from excess moisture
4. Install drip irrigation on a timer with a separate manual cut off valve if you have multiple beds. Some fruits – notably watermelons – don’t want to be watered at all once their fruit has set…but you may not want to set up separate watering zones for each bed. A manual cut off will easily solve the problem.
5. Once you have prepared your beds, fill them with a good quality mix of organic topsoil, compost and peat.
In my Plant Hardiness Zone, I can start planting some of my early crops as soon as next month. SproutRobot has a neat tool for determining when you can start planting outdoors where you live. Make sure you get your raised beds built in time to be ready to start planting. And bookmark my Garden Journal so you can check back throughout the spring as I add tips for crop selection and low maintenance growing.
Happy gardening!


