I've been composting all wrong - and that ends today!
If you've been following the Sunset Green Home blog, you know I'm an avid gardener and grow almost all of the produce consumed by my family from May through October. But, I have to admit that I've been a bit of a lazy composter.
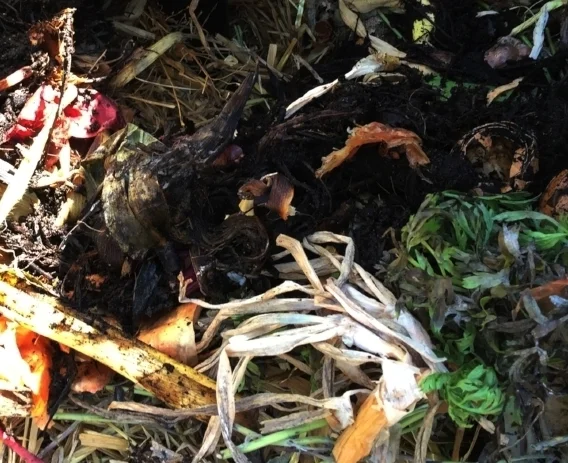
While cutting the dried stalks from this summer's onion crops - my garden's own "brown" biomass - I decided it was time to get serious about composting.
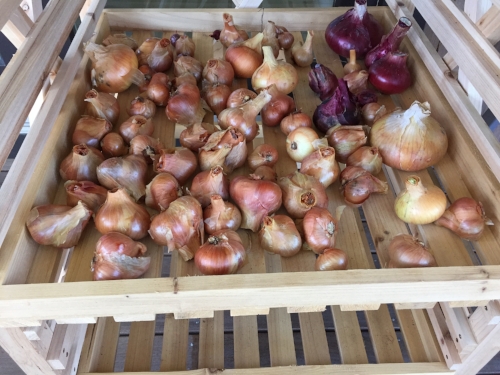
Some of this summer's onions and shallots...
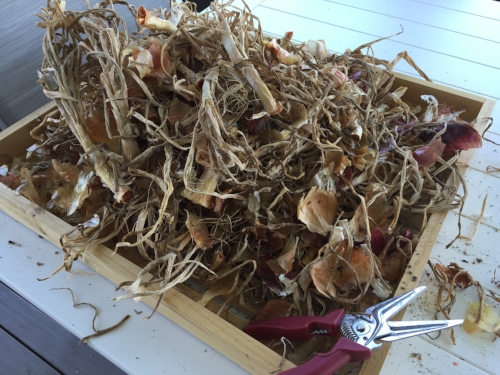
...and the "brown" waste I trimmed away.
We generate a large volume of plant-based kitchen scraps, but have very little "brown" material (we don't have many deciduous trees on our property, so dried leaves are not readily available). And we have some wildlife issues - voles, raccoons, etc. - which complicates the situation. Despite these less-than-optimal conditions, I still throw my kitchen scraps into a barrel-style bin to try to generate some usable compost. And every year when I purchase organic compost to feed my garden, I tell myself that it's time to focus on creating my own (costless!) compost.
When researching this post, I discovered that I've been composting all wrong! While a barrel-style composter may be the right choice for some gardeners, it was the wrong choice for me. Barrel compost bins are "batch" devices. They are meant to be filled up and then left alone while the biomass inside, helped along by beneficial organisms, creates the "black gold" that gardeners seek. It's helpful to have multiple barrel style compost bins (or a single device with multiple chambers) so that one can be filling while another is "cooking." But for those people who don't want to dedicate the space or spend the money on multiple bins, or who tend to add to their bin on a continuous basis, batch composting may not be the right choice. If you're like me and keep adding to a single barrel compost bin, it eventually becomes so heavy that it is impossible to turn and, if you're really unlucky, the handle breaks off while you're trying to spin it and leaves you with a giant bruise wherever the handle hits you (in my case, right in the middle of my kneecap!).
I set out to research alternatives to the technology I had been using. In areas where leaves and grass cuttings are abundant, and where animals are not an issue, open wire compost bins - filled in succession for batch-style composting - are a low cost and easy option. The Internet abounds with DIY plans for compost bins of this type. But since we don't have large volumes of compostable material, I focused my search on closed hot compost bins with no moving parts.
I looked specifically for bins with good reviews and with screens underneath to protect the contents inside from burrowing pests. The Juwel AeroQuick compost bin and soil grid system came up with consistently favorable reviews. With a retail price tag at Home Depot of $116 for the bin and $26 for the base grid, the combo seemed like a good investment, but not one I was willing to make before speaking with the manufacturer's rep to make sure I was making the right choice.
I placed a call to Exaco Trading, the AeroQuick bin's distributor. I received a lengthy education from Andrew Cook, one of Exaco’s owners. Andrew encouraged me to try not only the 77 gallon AeroQuick 290, but a second product, the 112.5 gallon Aerobin 400 as well. In the interest of full disclosure, Exaco Trading offered me promotional pricing to encourage me to do a side-by-side comparison.

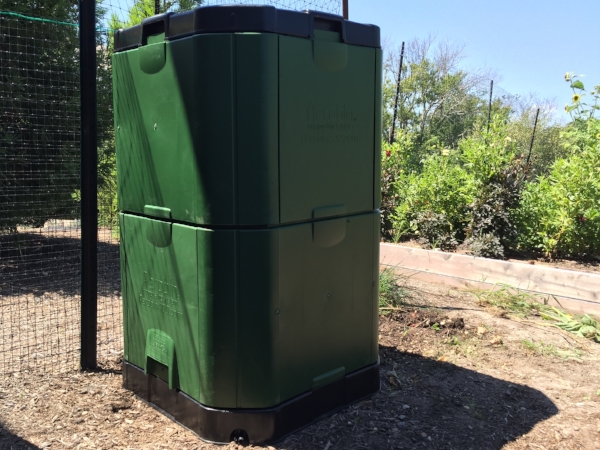
AeroQuick 290
Aerobin 400
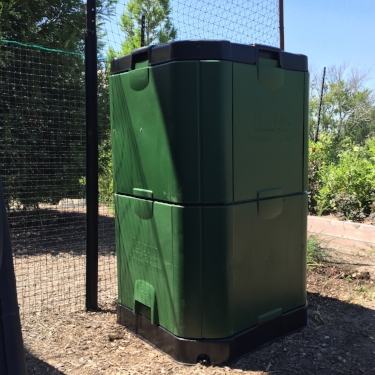
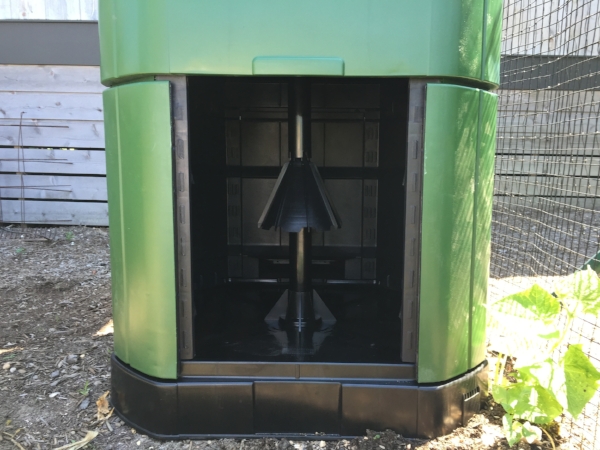
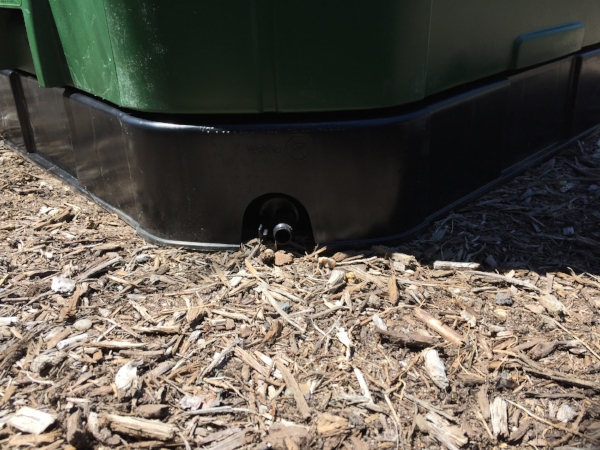
The AeroQuick 290 is a well-priced compost bin perfectly sized for a home garden. Unlike my batch-style barrel compost bin, the AeroQuick 290 is a continuous feed system with no moving parts. We installed the optional bottom grid to discourage burrowing animals while still allowing "beneficials" (like earthworms) to access the pile. We assembled the heavy duty bin (5 mm thick polypropylene with 40% recycled content) in just a few minutes and with no difficulty. Although the bin includes an air flow system that facilitates the composting process, Andrew at Exaco Trading advised me that I would have to "turn" the material inside the bin occasionally. But with a large top opening and two bottom openings, the AeroQuick makes the task easy. And since it has no moving parts, I know my knees are safe!
The larger Aerobin 400, which retails for $333 at Home Depot, is a completely sealed bin with an integrated leachate tank to collect liquid nutrients that can be made into compost tea (a plus for us, as we have an EZ-FLO automatic fertilizing system that can deliver the compost tea to our plantings via our irrigation system). With its patented “lung” aeration system, the Aerobin breaks down biomass without requiring me to turn the compost inside the bin. With insulated side walls, the Aerobin should retain heat and break down my compost materials quickly.
Having the right compost bin is only one aspect of successful composting. As I mentioned before, I was making some rookie mistakes in my composting method. I was basically trying to make compost solely from kitchen scraps. The key to successful composting is to have the right ratio of green (wet) waste to brown (dry) waste. With my two new compost bins in place, I set out to fill them with the right mix of materials.
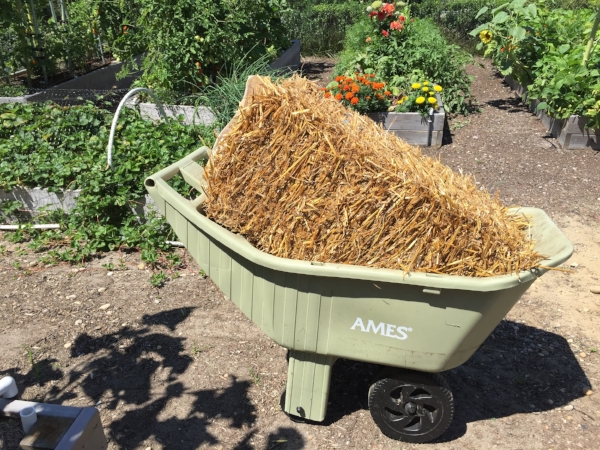
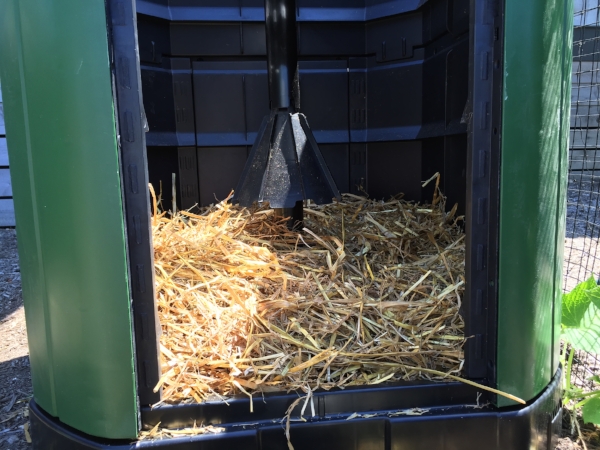
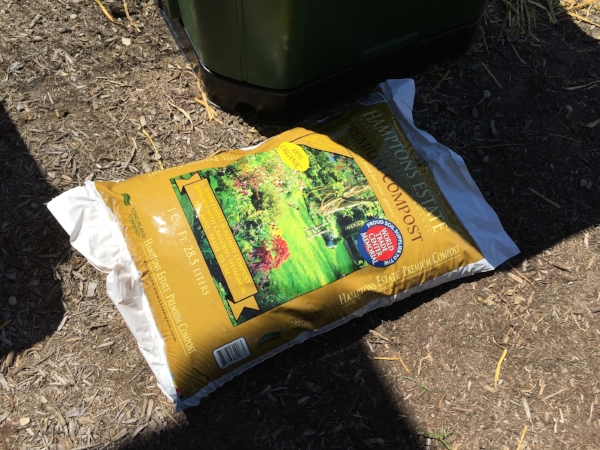

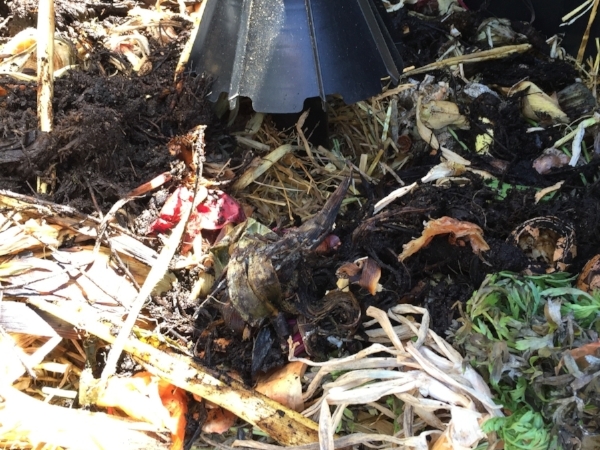
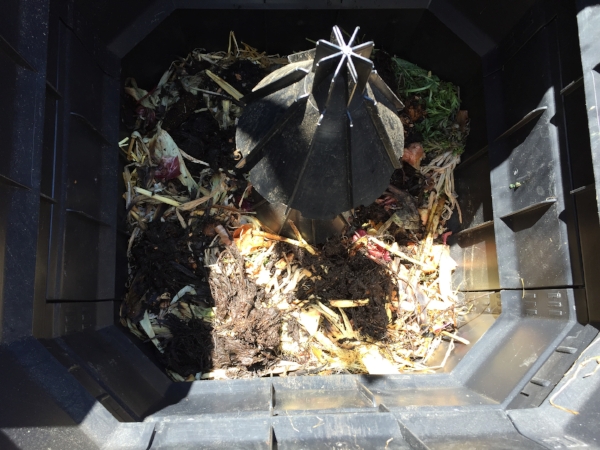
Following the detailed instructions that came with the bins, I added approximately 4” of dry straw as a base layer to the bins, and then “seeded” the bins with beneficial bacteria by adding a bag of organic compost purchased from my local garden center. At this stage I also added in the material from my barrel compost bin (yes, despite adding only kitchen scraps I did have some actual compost at the bottom of the barrel – replete with earthworms that had somehow found their way up off the ground and into the bin). And then I began adding kitchen scraps to form a “green” layer on top. As per the instructions, I’ll add more “brown” material when the layer of kitchen scraps is about 4” deep. Check out the slide show to see how I filled the Aerobin 400 unit.
If you are considering composting, here are some things to keep in mind:
- Style of Bin. There is no “one size fits all” technology when it comes to composting. Select a bin based on your budget, composting habits, and other constraints (such as a need to deter pests). We wanted to be able to add to the pile on a continuous basis and needed a technology that would keep out burrowing pests like voles. This led us to choose the closed bin system represented by AeroQuick and Aerobin.
- Size of Bin. Bins come in a multitude of sizes. Choose a small compost bin if you’re only adding kitchen scraps. If you have a large property that generates leaf and grass waste, you may want to opt for a larger composting container or open bin system. Keep in mind that, if you use chemical fertilizers on your grass, you should leave your grass cuttings out of the compost that you plan to work into your vegetable patch. We have a large garden; once I pull out the tomato vines and other plants at the end of the season, I imagine I will be able to fill the larger Aerobin 400 (as well as the AeroQuick 290).
- Compost Recipe. You’ll achieve the best results if you balance green and brown wastes, and include a “diet” of carbon-rich and nitrogen-rich materials to stimulate microbial activity. The best ratio of carbon to nitrogen is approximately 25-30:1. Click here for a table of carbon to nitrogen ratios for the materials you may want to add to your pile. For optimal microbial activity, you also want to make sure that the compost pile is moist to the touch, but not overly wet.
My new compost bins are up and running. I’ll report back periodically on how they’re working out! In the meantime, leave a comment and let us know what has worked for you!